You may recall my previous blog post about accidentally designing the Swedish flag, if you were one of the 4 people who read it. If not you can read it here!


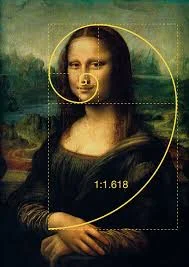
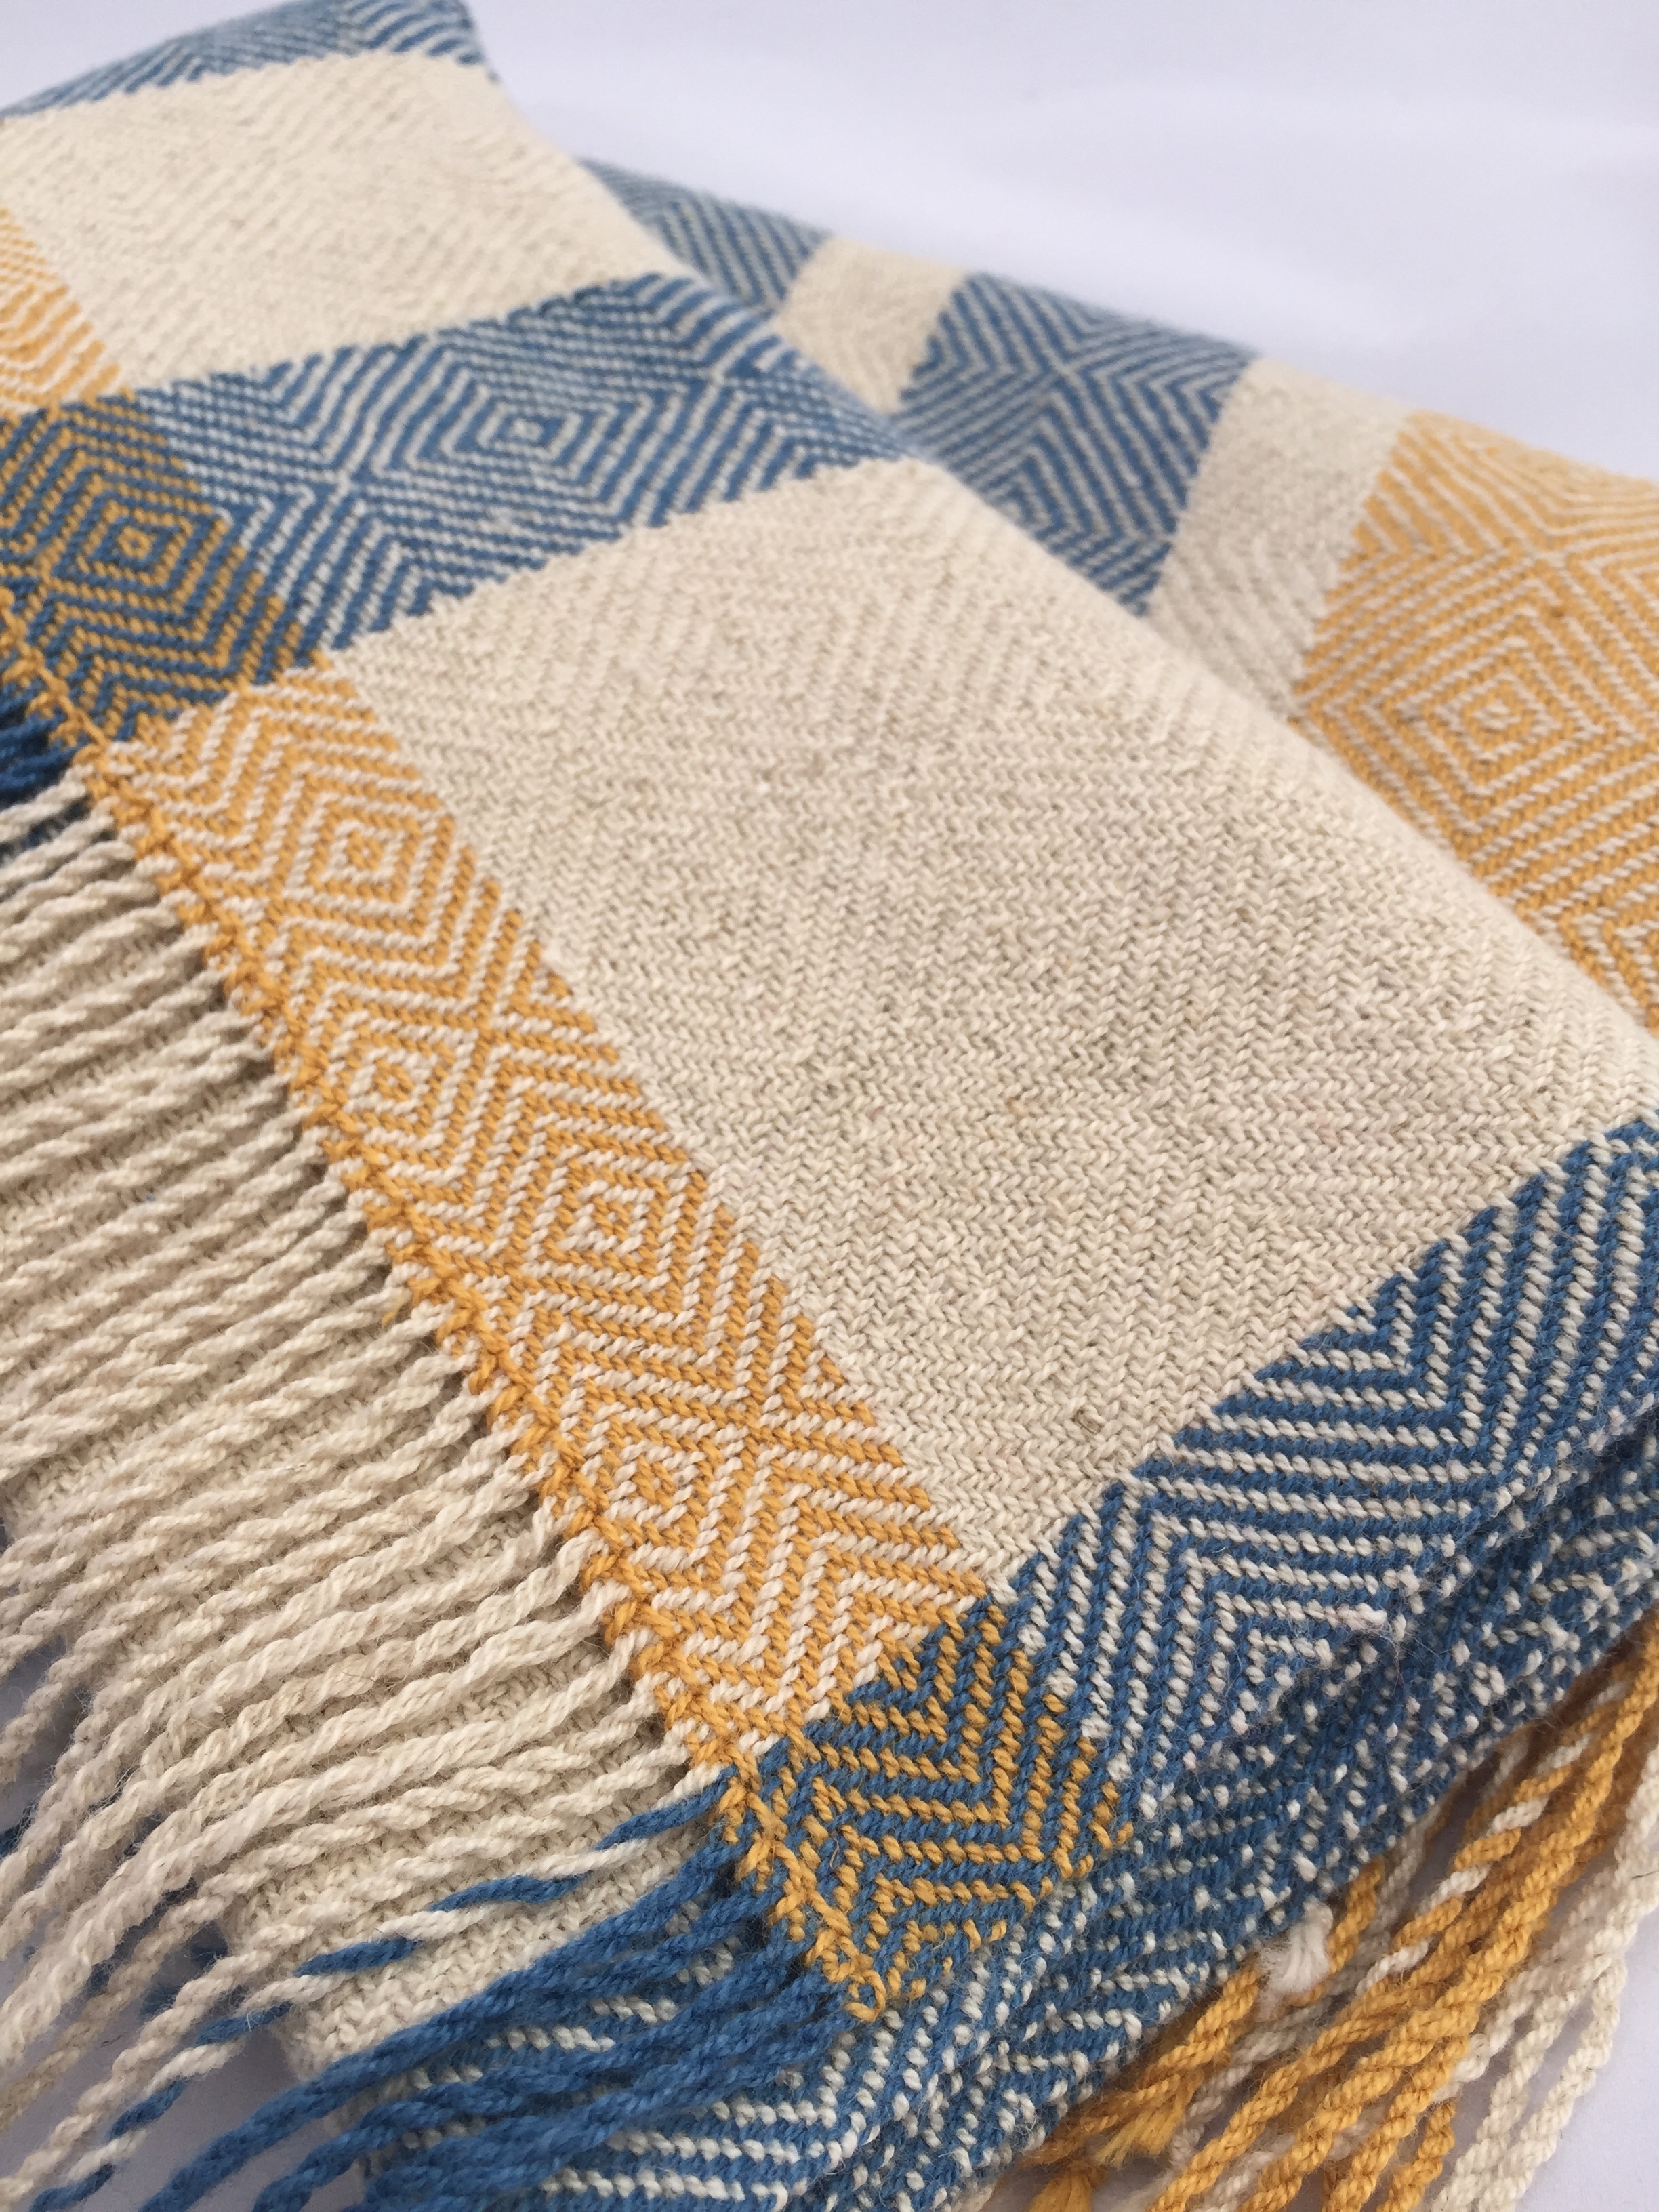
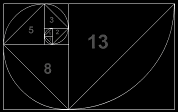
The conclusion of that fiasco was, after I spent more time in excel moving stripes around, to space the blue striped out according the to Fibonacci Sequence of numbers. (There are photos below and also here on my etsy listing (sneaky huh?) I chose one diamond motif as a unit then spaced the blue stripes with 1, 1, 2, 3, and 5 units of white between them. After all the playing and reorganizing, this finally looked right. But that's no surprise. The Fibonacci sequence appears all the time in nature and therefore is subconsciously very pleasing to us. It feels right/balanced. And I love using it in design for just that reason. Why fight to design something when nature has provided you with tools, be it this or even colors. For instance, I think every child who draws the sky with clouds and a sun knows the blue/white/yellow crayons quite well.
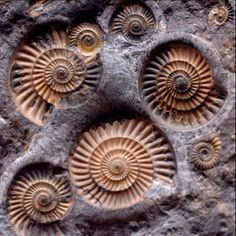
As a geologist I encountered the Fibonacci sequence in the structure of ammonites. These are extinct mollusks are related to modern day octopus and squid. Their fossils are common throughout the Mid to Late Paleozoic and Mesozoic, so (very roughly) 400 million years ago to 100 million years ago. And while their spiral shape is not conducive to weaving, the number sequence that governs the shape of their preserved shells is!
Now that I am on instagram(@garnetfiberstudio) I am taking A LOT more photos! And forget to delete them, so my phone has been constantly yelling at me that I am out of space. It doesn't help that I have photos from 2010 on there. Plus, when your mom is half a country away, but you still need her advise on every shoe, pants and dress purchase you do tend to rack up a lot of photos of random crap on your phone. But recently it's been test dyes for a new alpaca base I just got in that I am super excited about and can't wait to roll out. But that is for my next blog post! It is also full of this summer weight shawl I have had on my loom for weeks now. This weave took a long time! There is a huge time difference between using the thicker wools that I have been using and this thinner, weaving specific cotton/linen. The thinner the yarn, the more yarn that needs to be threaded through the loom and the more time spent weaving. But it was time well spent; I am in love with the result! This shawl is so lightweight, soft and drape-y that it was worth the effort!
I am going to let the photo below detain the process. I will probably write a blog post later about how a weaving loom actually works, although there are plenty of good resources online if you want to know and can't wait!
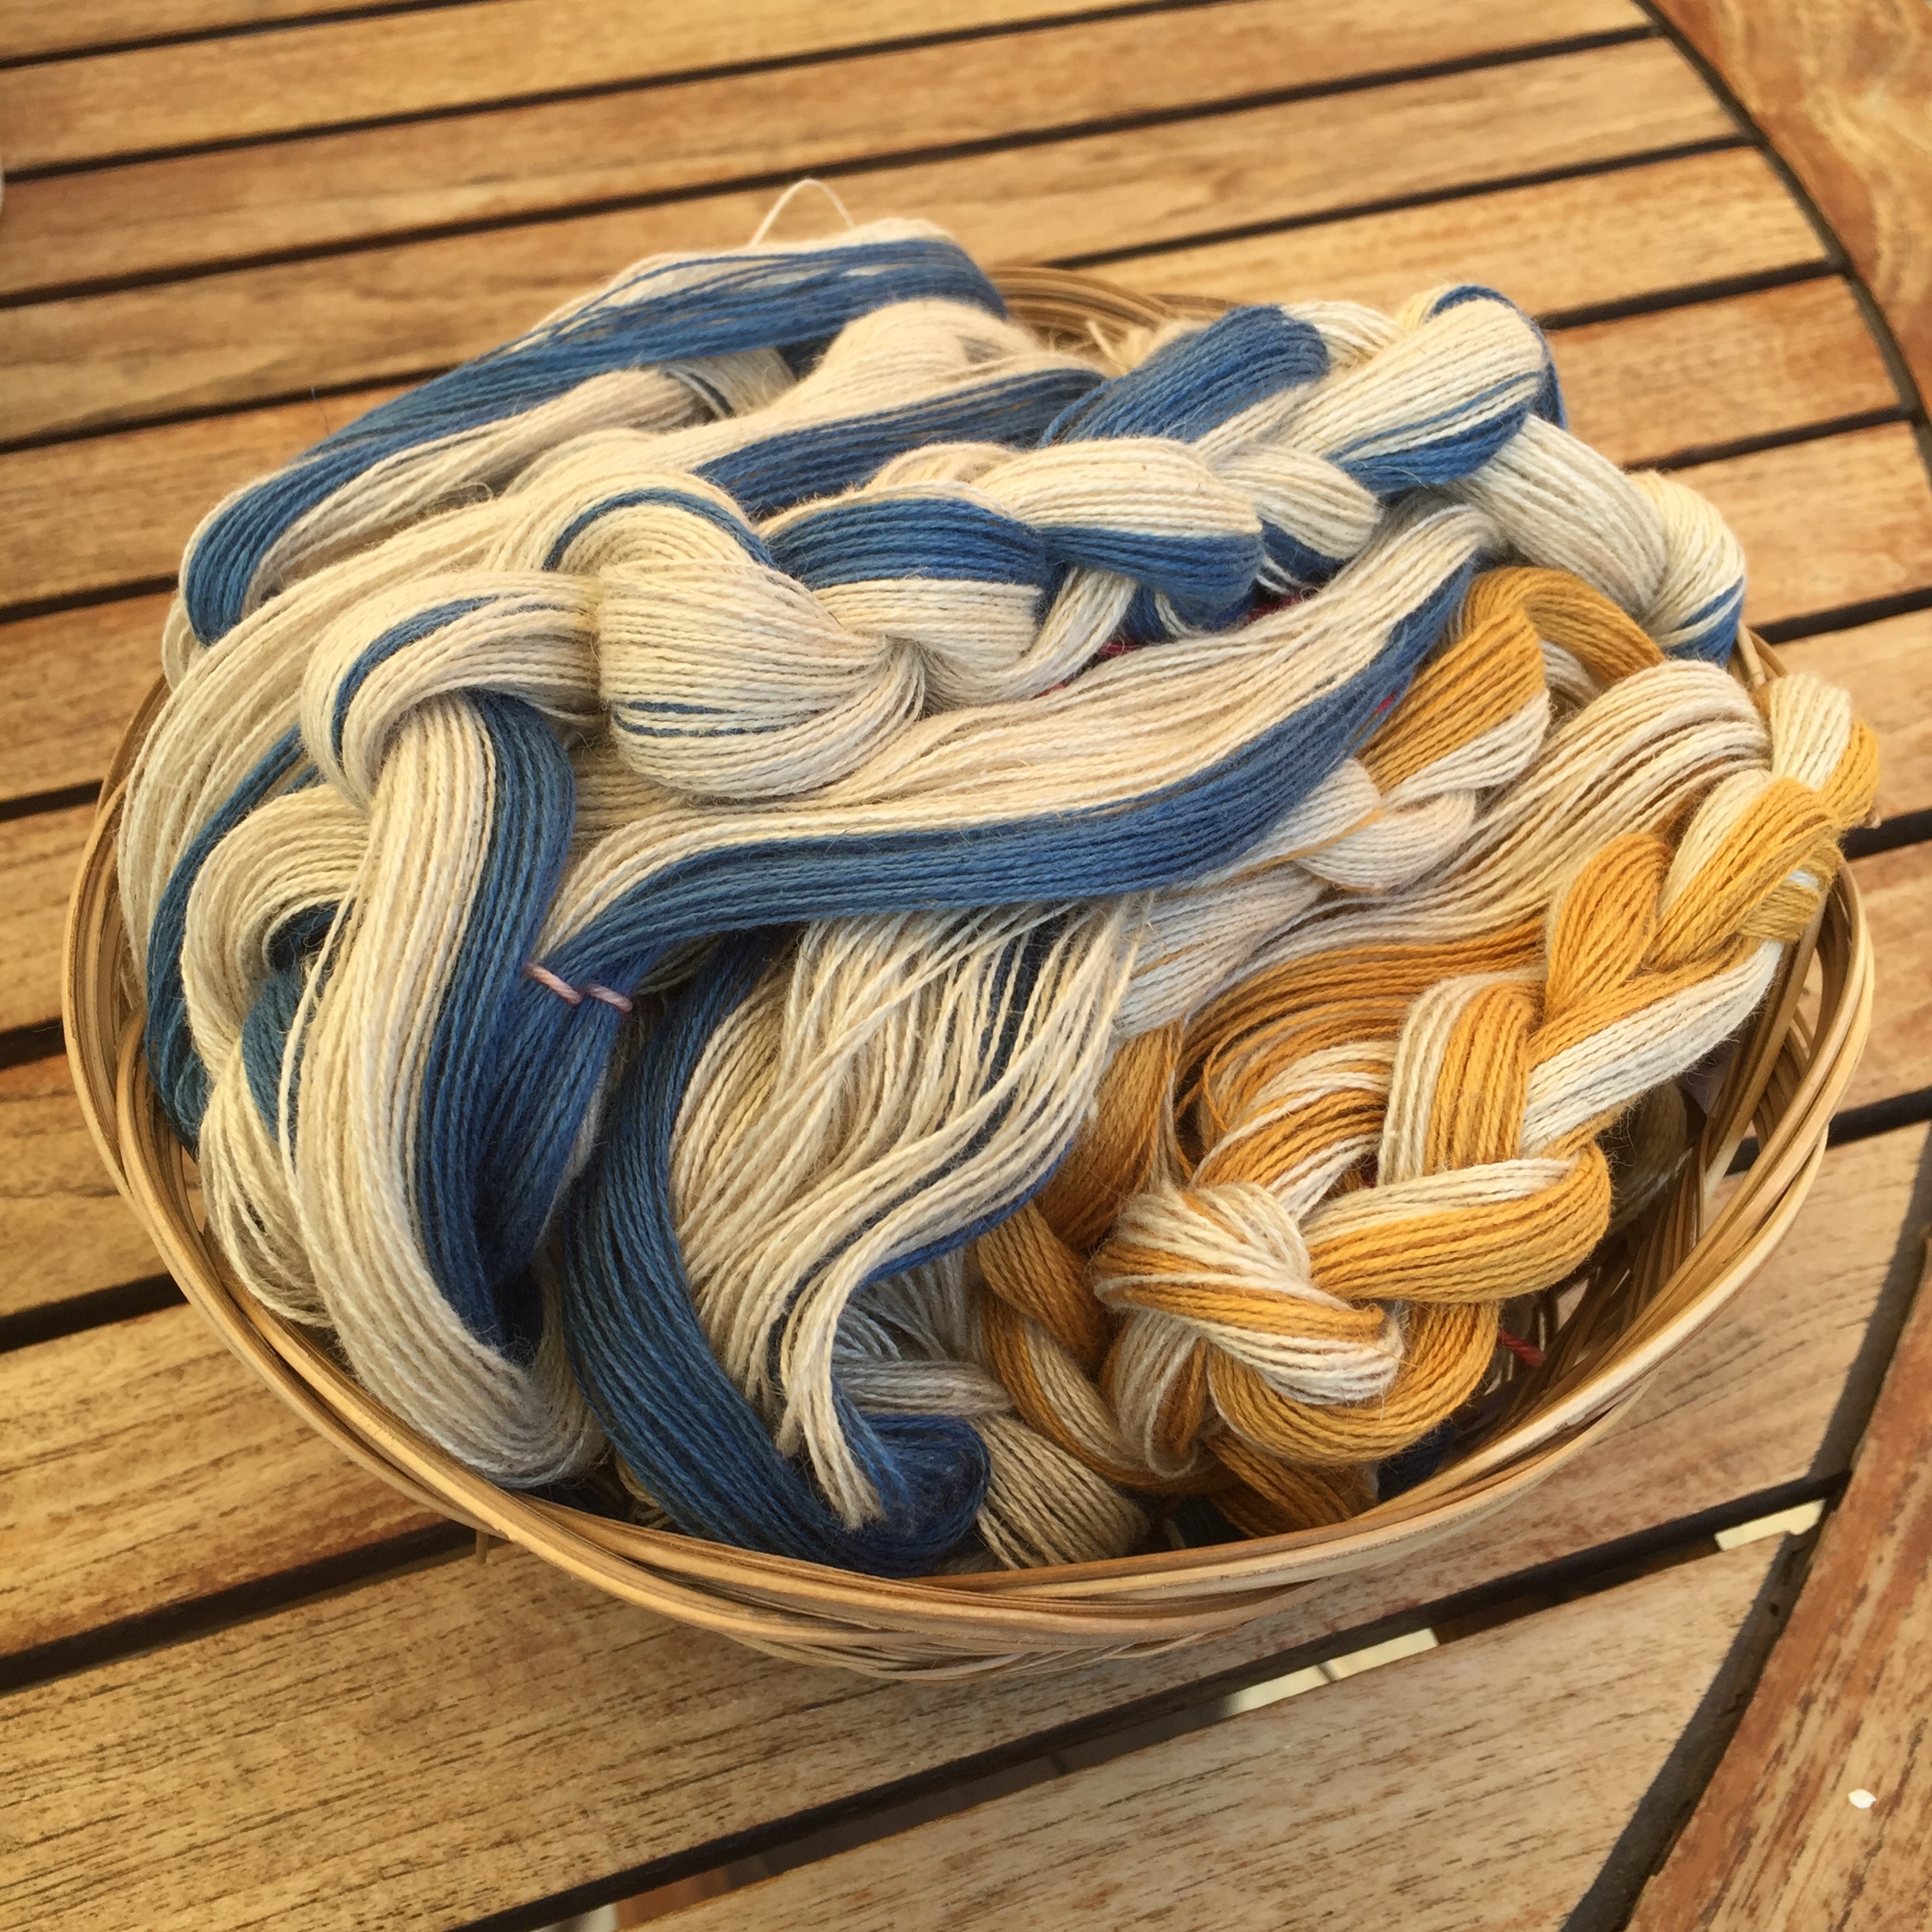
The 1st batch of picture is measuring the warp. This is the yarn that gets threaded through the loom. This shawl has 520 warp threads and they all have to be measured to the same length. Most weavers use something called a warping board. I use pegs, which are great for shorter warps and are super portable. I think a warping board DIY Project is in my near future, or perhaps a warping mill!


Once all the threads are measured I take these bundles to the loom and arrange them properly. It is important to not be drunk during this step. Well, during most steps really, but keeping everything in order while you are securing it to the loom is critical.
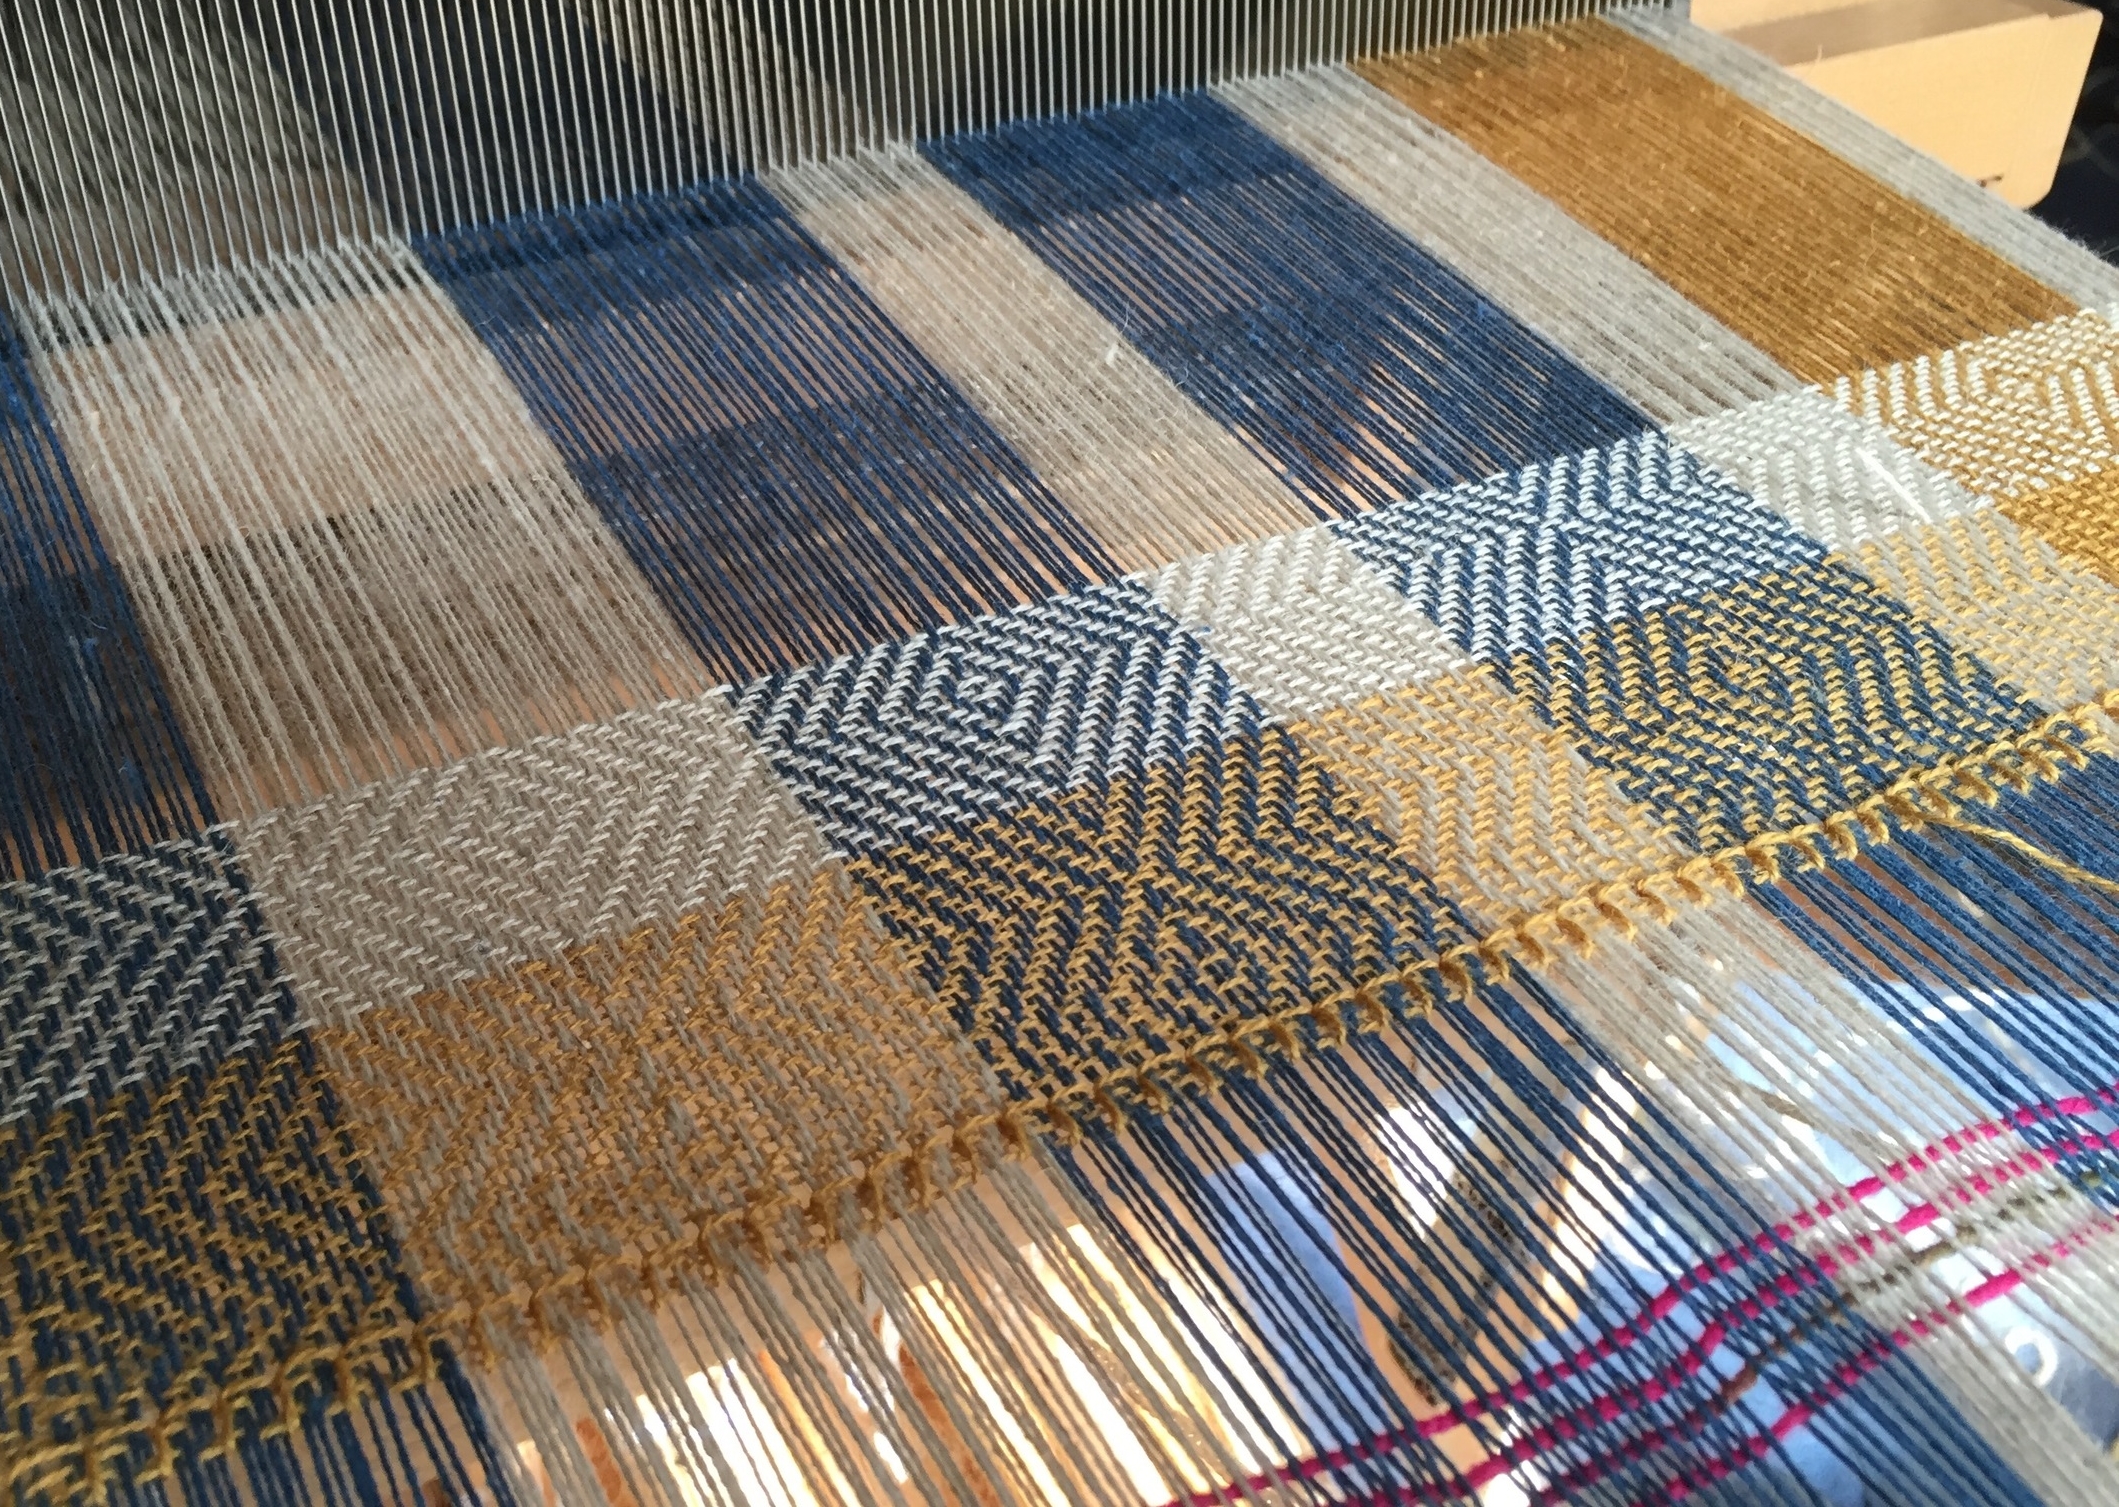
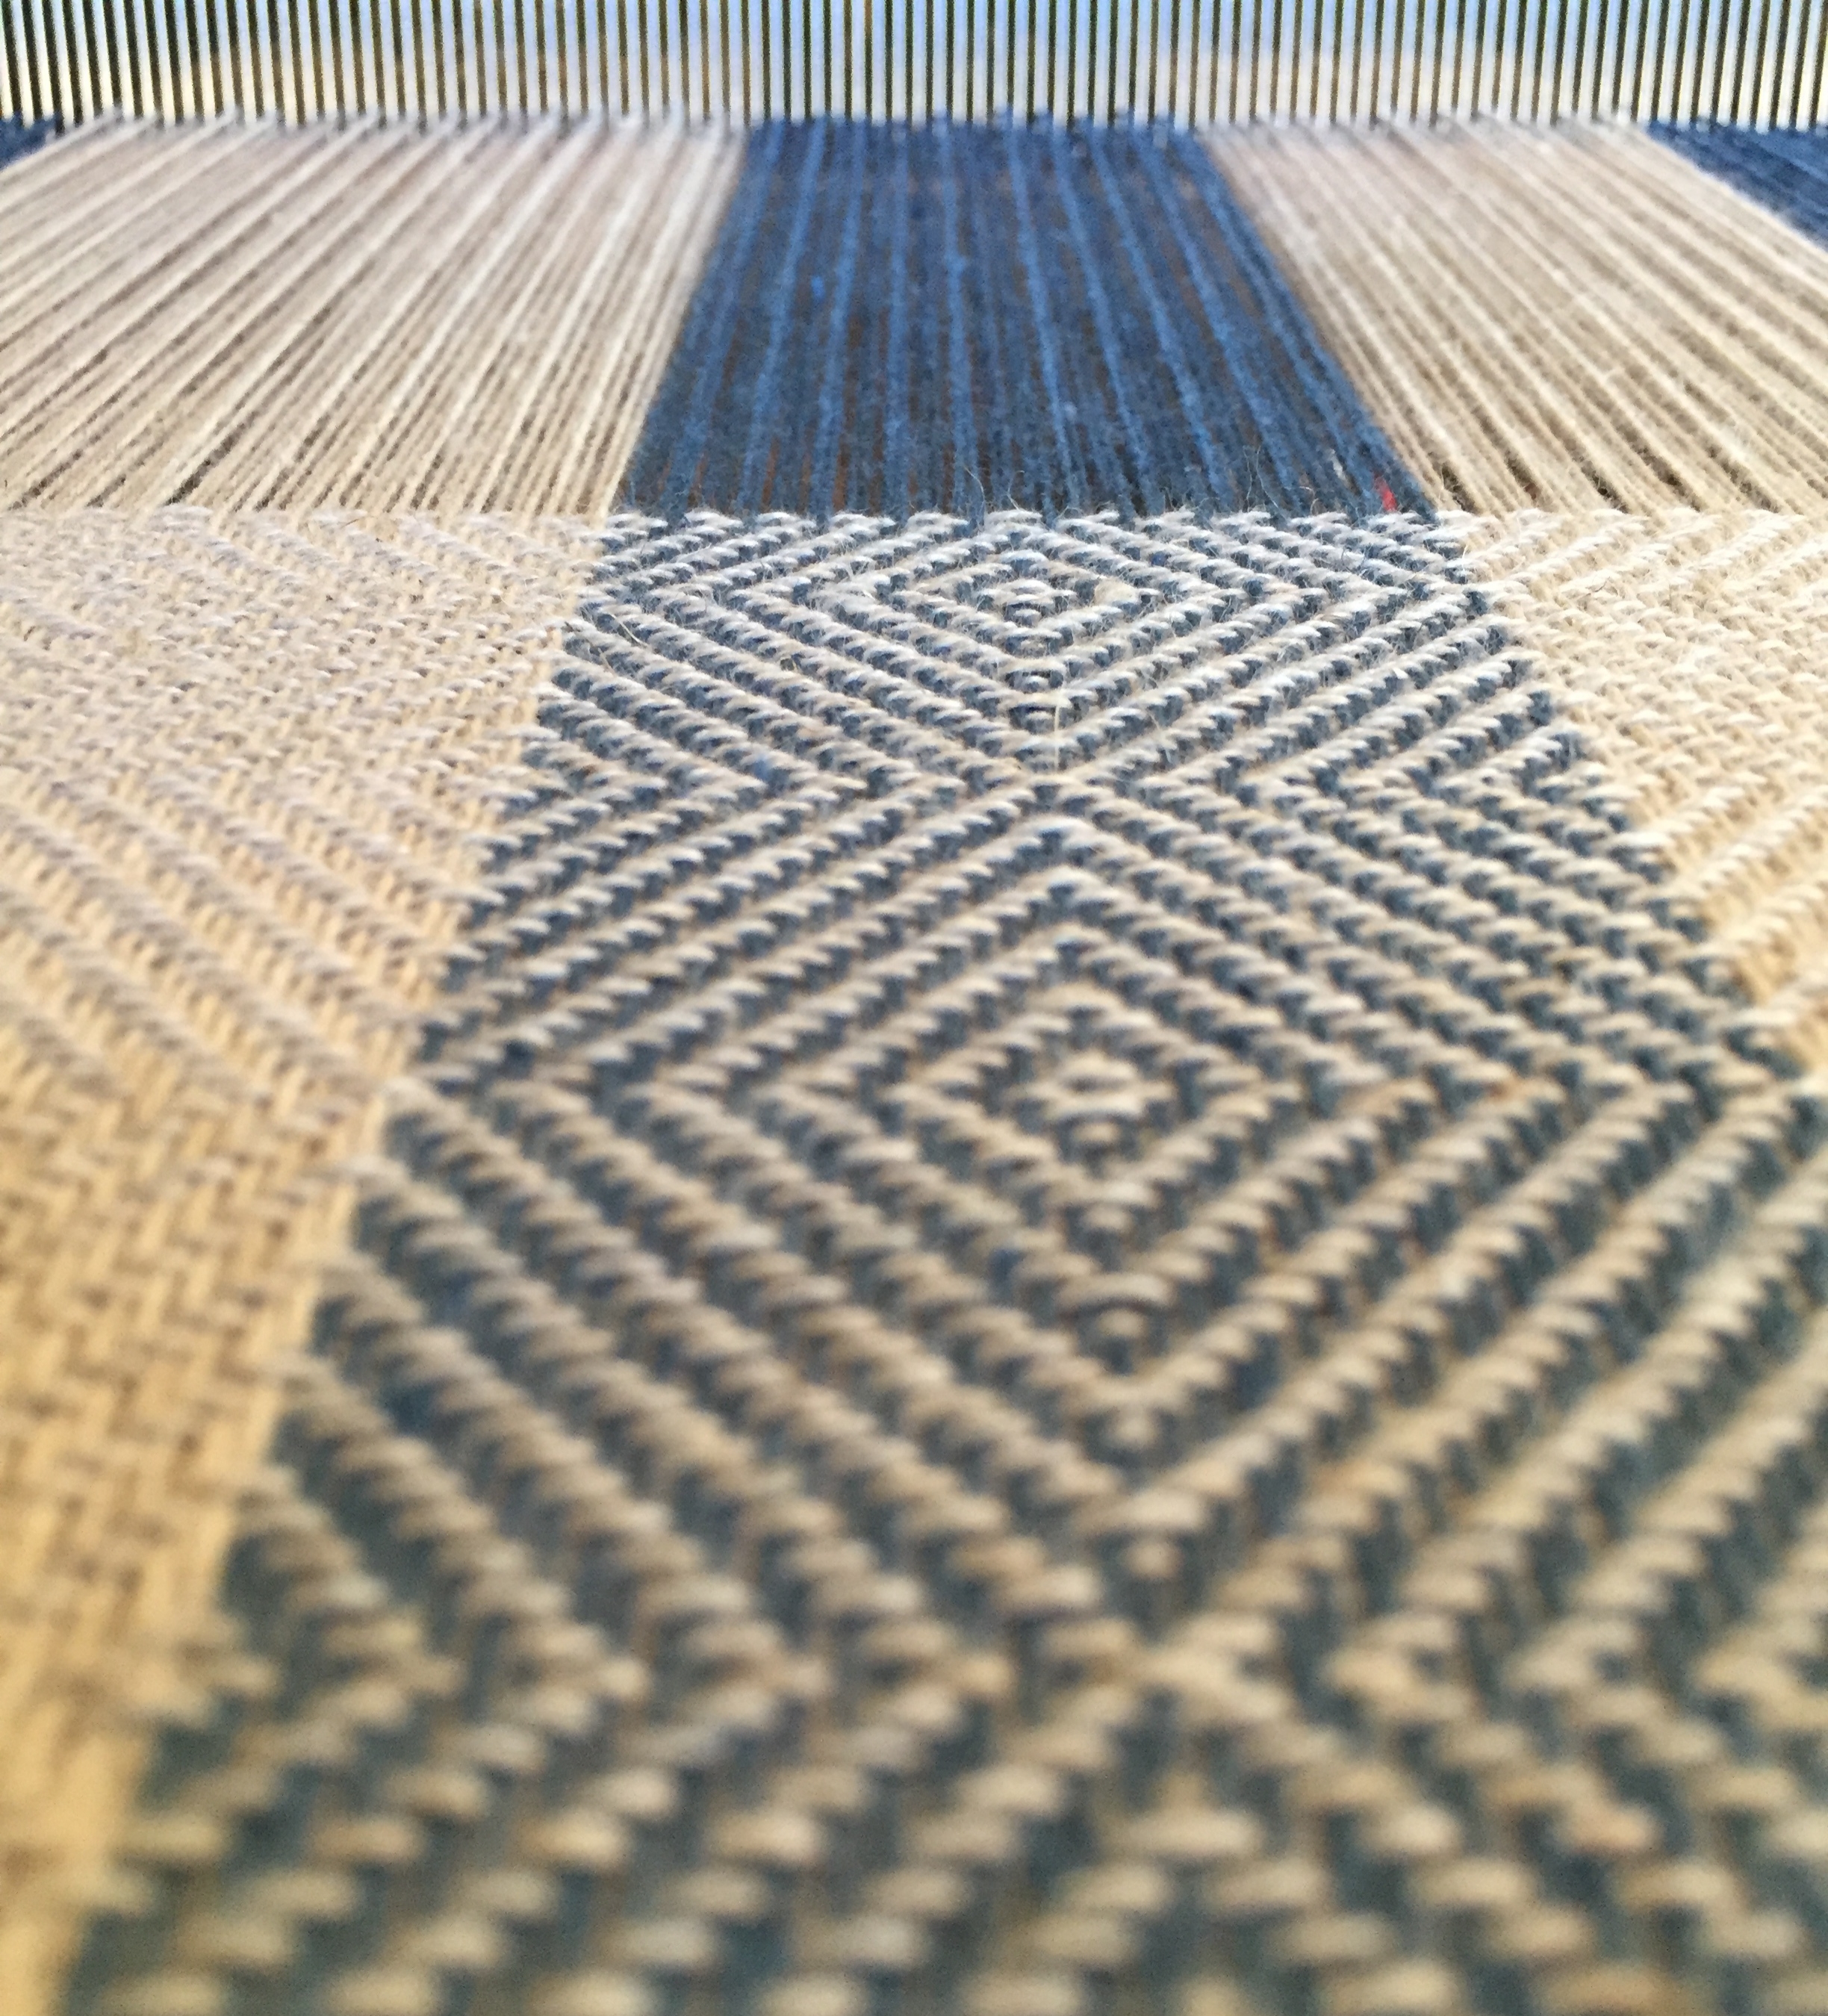
The threading process for this shawl took me 6-8 hours total. I am fairly slow, but I like to be very careful during this process. I stop a lot to check my work. It is 100 times easier to fix errors here than once you start weaving. It takes me a long long time, but to me it is worth it because to fix an error once everything is on and tied would cost me a lot of time. Doing it this way I very rarely have threading errors.


Now the weaving finally starts. This is probably a week after I started playing with the design. In the beginning there is much fussing with tension, checking the pattern to make sure it's right, and I like it, measuring the weft, which is the yarn that goes back and forth, to make sure it's sitting in the weaving at the right density and of course hand stitching the hem stitch at the beginning. I wasn't sure I wanted fringe on this. but this hem stitch gives me the option of keeping fringe or machine hemming it. The video on the right (or below, perhaps, if you are on a mobile device) is a time lapse of me weaving. This is obviously not at real speed.


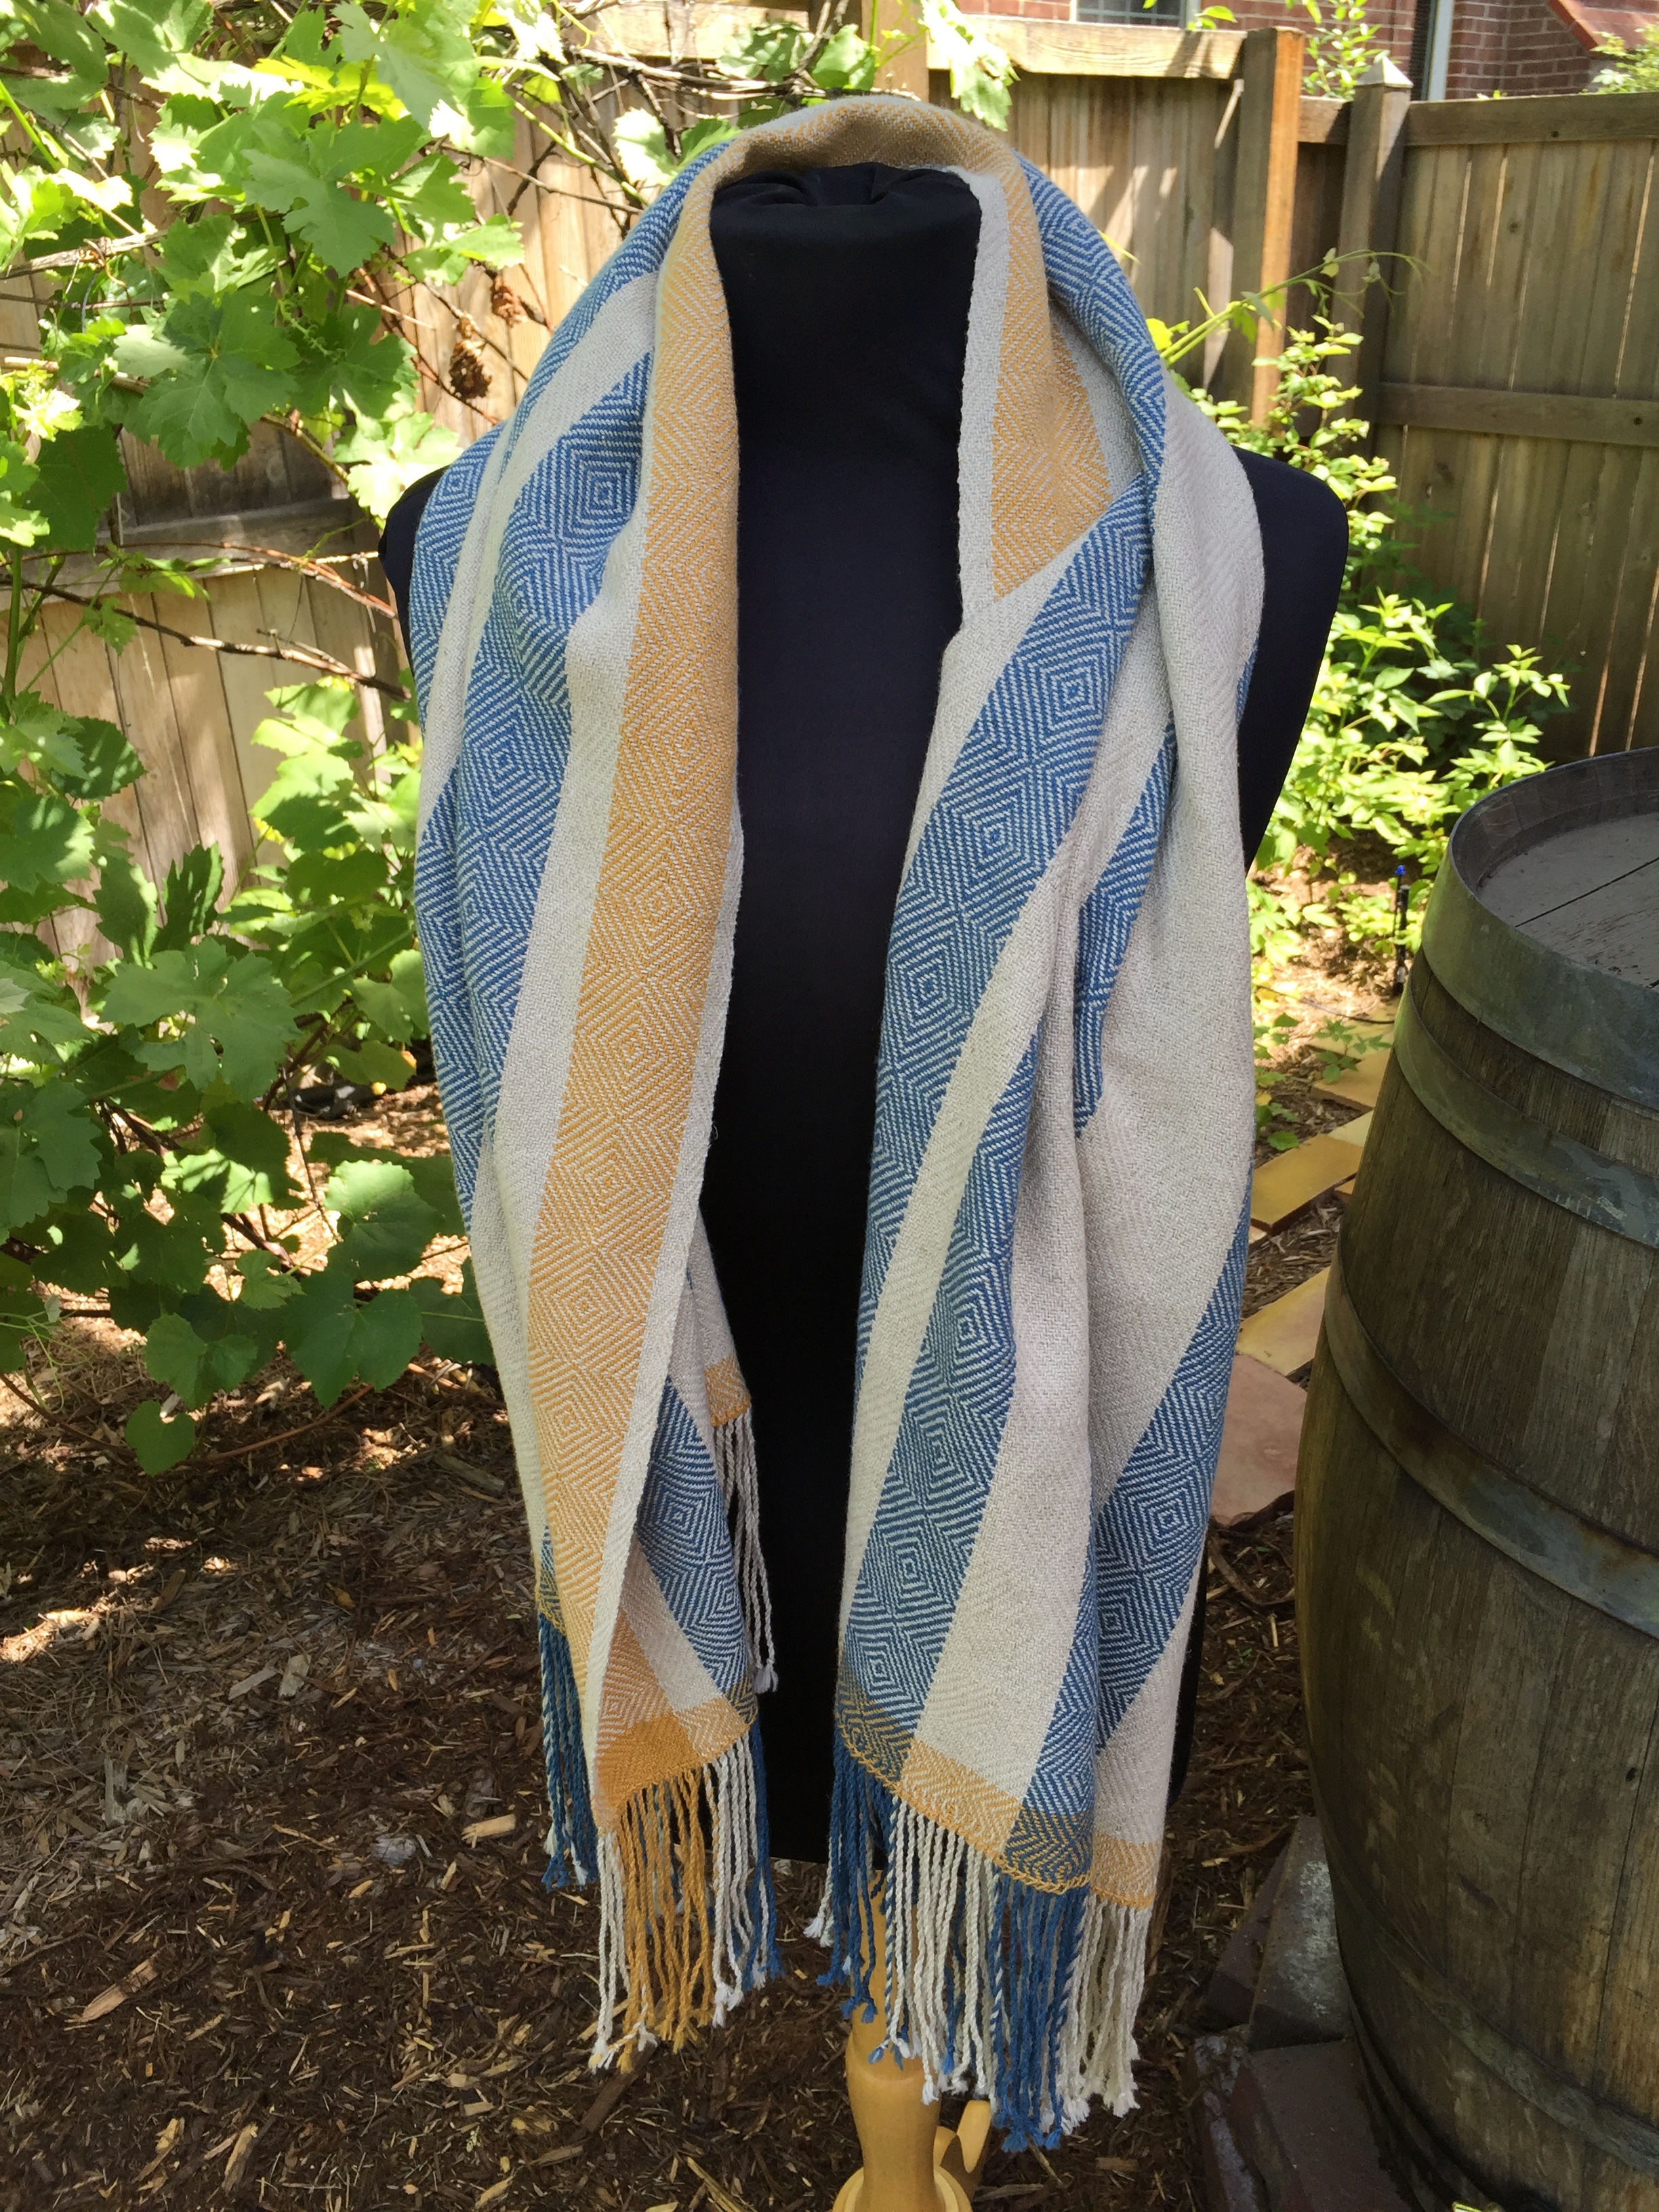
At the end of the weaving process I sew another hem stitch on the end and cut the shawl off the loom! Of course the first thing I had to do was wrap it around me and take a terrible photo. From here the shawl had to have the fringe trimmed and twisted, it was wet finished, which means washed and dried, the ends were clipped and the shawl was pressed.


Once all that was done it could have some real glamour shots taken. These are ones I liked but didn't make it into the etsy listing.